Remove an Object From a Photo
Name the thing that should go, and what should be there instead. One sentence, one edit, no account.
1 — Your photo
2 — What should go
Replace the ___ with the object you want removed.
What actually removes the object
The instruction does the work, not the button. A sentence that names the object, its position, and what should replace it succeeds far more often than one that only says "remove it".
Compare these two:
- Remove the bin. — the model has to guess which bin, and what belongs behind it.
- Remove the green bin on the left and fill the area with the same grey paving. — position, object and replacement are all specified.
The second one works because the replacement material is what the model actually paints. If you do not say what should be there, it invents something, and invented pixels are where removal edits look wrong.
Where object removal works well
- Small distractions on simple backgrounds — a bin, a signpost, a cable, a mark on a wall.
- Bystanders in the background of a travel or property photo.
- Dust and blemishes on product shots, especially on plain surfaces.
- Power lines and wires against a clean sky.
Where it fails
- Large objects covering complex texture — a car in front of a detailed facade. The fill has to invent too much.
- Text and logos — small lettering is frequently garbled.
- Objects crossing an important edge — a person overlapping a doorway, where the frame line must be reconstructed.
- Reflections and shadows — the object leaves its reflection behind, and you have to remove that in a second pass.
When a removal comes back half-finished, do not rewrite the whole sentence. Change one clause — usually by naming the replacement material more precisely — and run it again.
A real example
This pair was produced by this page. The instruction was:
Remove the power outlet and the hanging cable from the wall, fill the area with the same off-white wall.
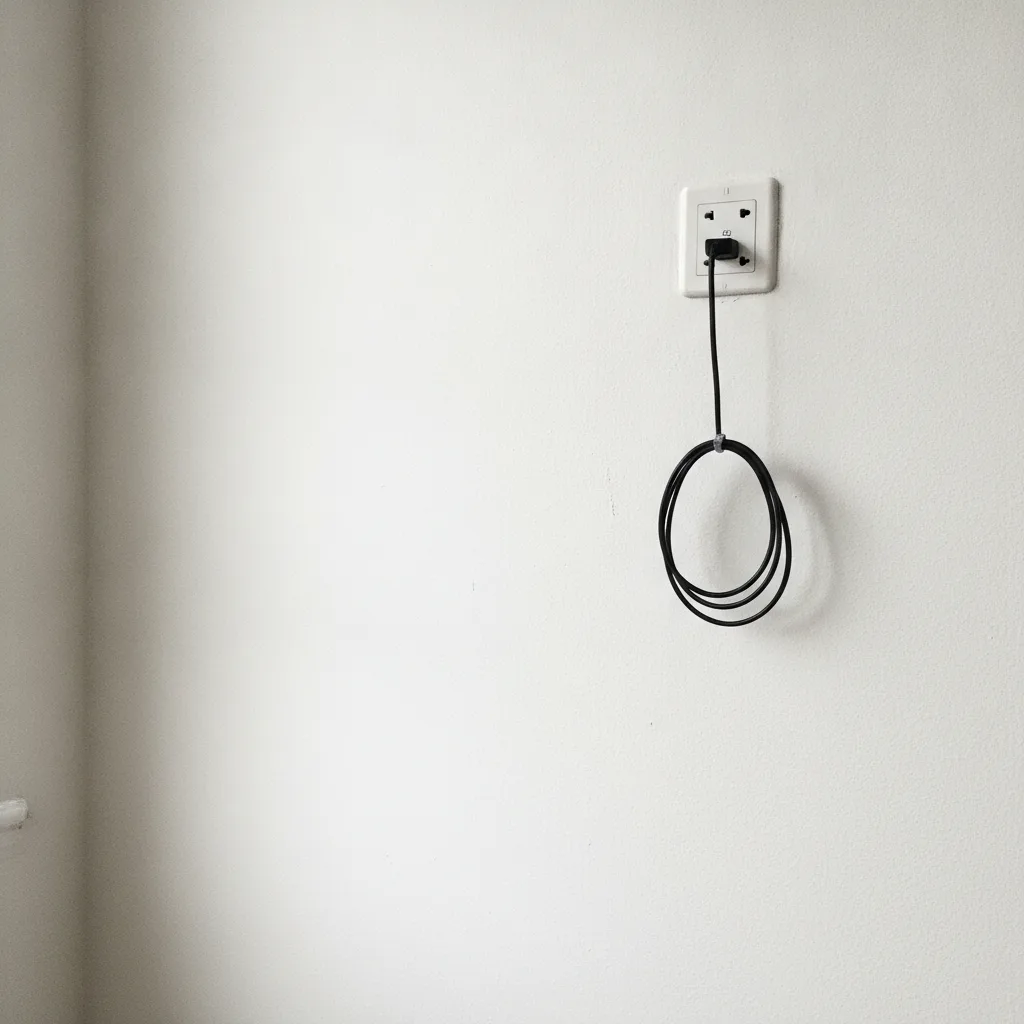 Before
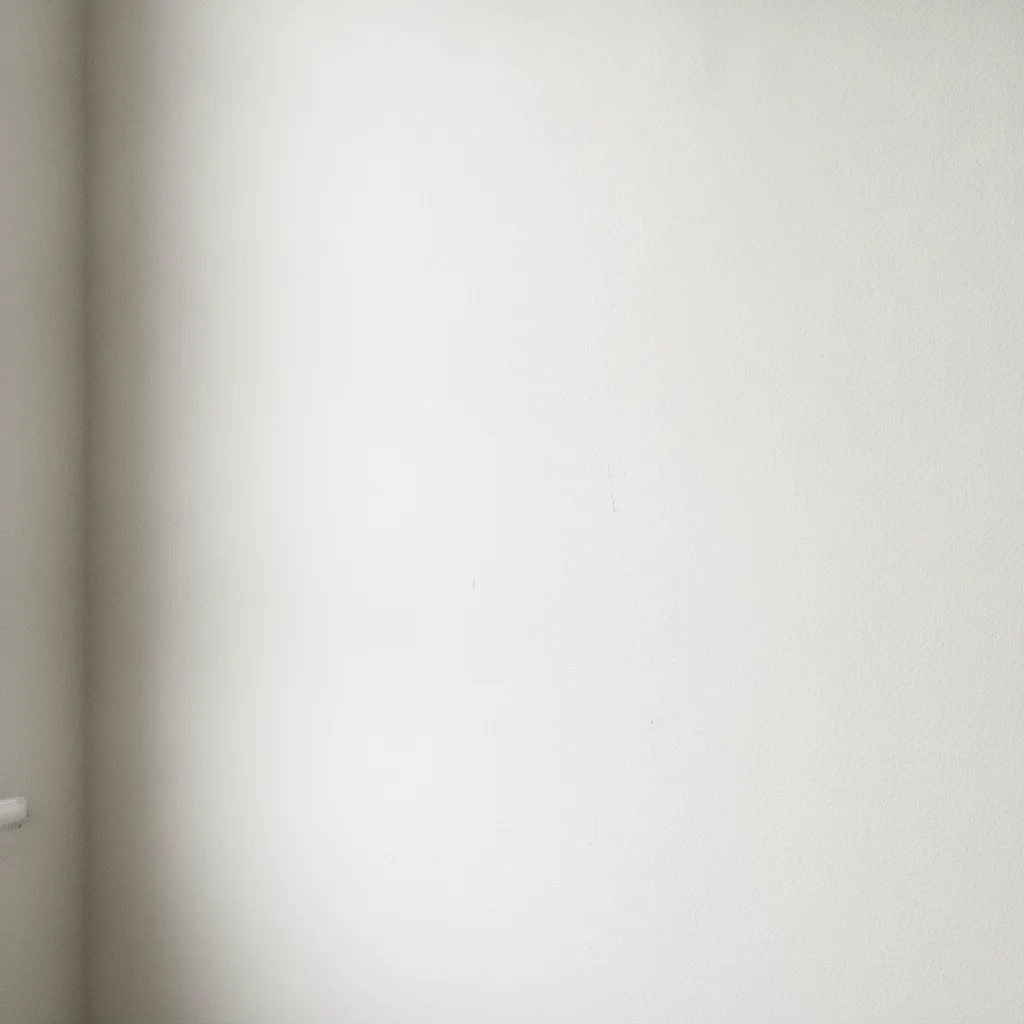 After
Outlet and cable removed
“Remove the power outlet and the hanging cable from the wall, fill the area with the same off-white wall.”
Note what the sentence does: it names two things (the outlet and the cable), and it names the material that should replace them (the same off-white wall). Without that second half, the model fills the gap with whatever it finds plausible — and that is where removal edits start to look smudged.
Five instruction templates you can copy
Remove the [object] in the [top-left / centre / bottom-right] and fill the area with the same [material].Remove the person standing [behind / beside] the [subject] and continue the [background element] through the gap.Remove the [object] that crosses the [edge] and rebuild the straight line of the [wall / frame / horizon].Remove the [object] and its shadow, then match the light direction of the rest of the scene.Remove the small marks on the [surface] and keep the [label / texture / grain] untouched.
Each template answers the same three questions: which object, where it sits, and what fills the space. Change the words in brackets; keep the structure.
When the result comes back wrong
Do not rewrite the whole sentence. Change one clause and run it again — that is how you find out which part the model ignored.
- Object still visible — add its position. "The bin" becomes "the green bin at the left edge".
- A smudge or soft patch — name the replacement material more precisely. "Fill it" becomes "fill it with the same grey paving stones".
- A repeating pattern — the area is too large for one pass. Remove it in two halves, or crop tighter before editing.
- A shadow left behind — ask for the shadow explicitly: "remove it and its shadow".
- Everything shifted — the model re-rendered the frame. Shorten the instruction and add "keep the rest of the photo unchanged".
Three steps
1. Upload the original
Use the largest version you have. The model works on a 1024 × 1024 canvas, so a small source loses detail before the edit begins.
2. Name it, place it, replace it
Object, position, replacement. If the object spans an edge, say which edge: "the cable running across the top right corner".
3. Inspect at 100%
Removal edits fail quietly. Zoom in on the filled area before you publish — soft smudges and repeating patterns are the usual tells.
Related
Changing what someone is wearing is a different problem — see AI clothes changer.
Free edits and credits
One edit a day is free and needs no account. If you need more, credit packs start at $9.90 for 100 edits — one-off, not a subscription. Failed edits are never charged.
Frequently asked questions
How do I remove an object from a photo for free?
Upload the photo, name the object and say what should fill its place, for example: remove the bin on the left and fill the area with the same brick wall. One free edit per day, no account.
Why is the object still there after my edit?
Usually because the instruction described a different object, or was too vague. Name the object's position, and add what should replace it, rather than only saying remove it.
Can I remove a person from a photo?
Yes for your own photos. Removing a bystander from the background is the most common use. Do not use it to put a real person into a misleading situation.
Does it work on text and logos?
Small text is the weakest area. Long words, labels and fine print are frequently garbled, so inspect the result at 100% before using it.
What happens to my photo?
It is processed in memory and returned; this site keeps no copy. Details are in the privacy notice.
What resolution is the result?
1024 × 1024 WebP. Upload the largest version you have, because a small source loses detail before the edit starts.